


TV chef John Whaite has joined us once again to share a delicious summer dessert recipe that you can create in just five steps. The perfect pairing to your summer of joy.
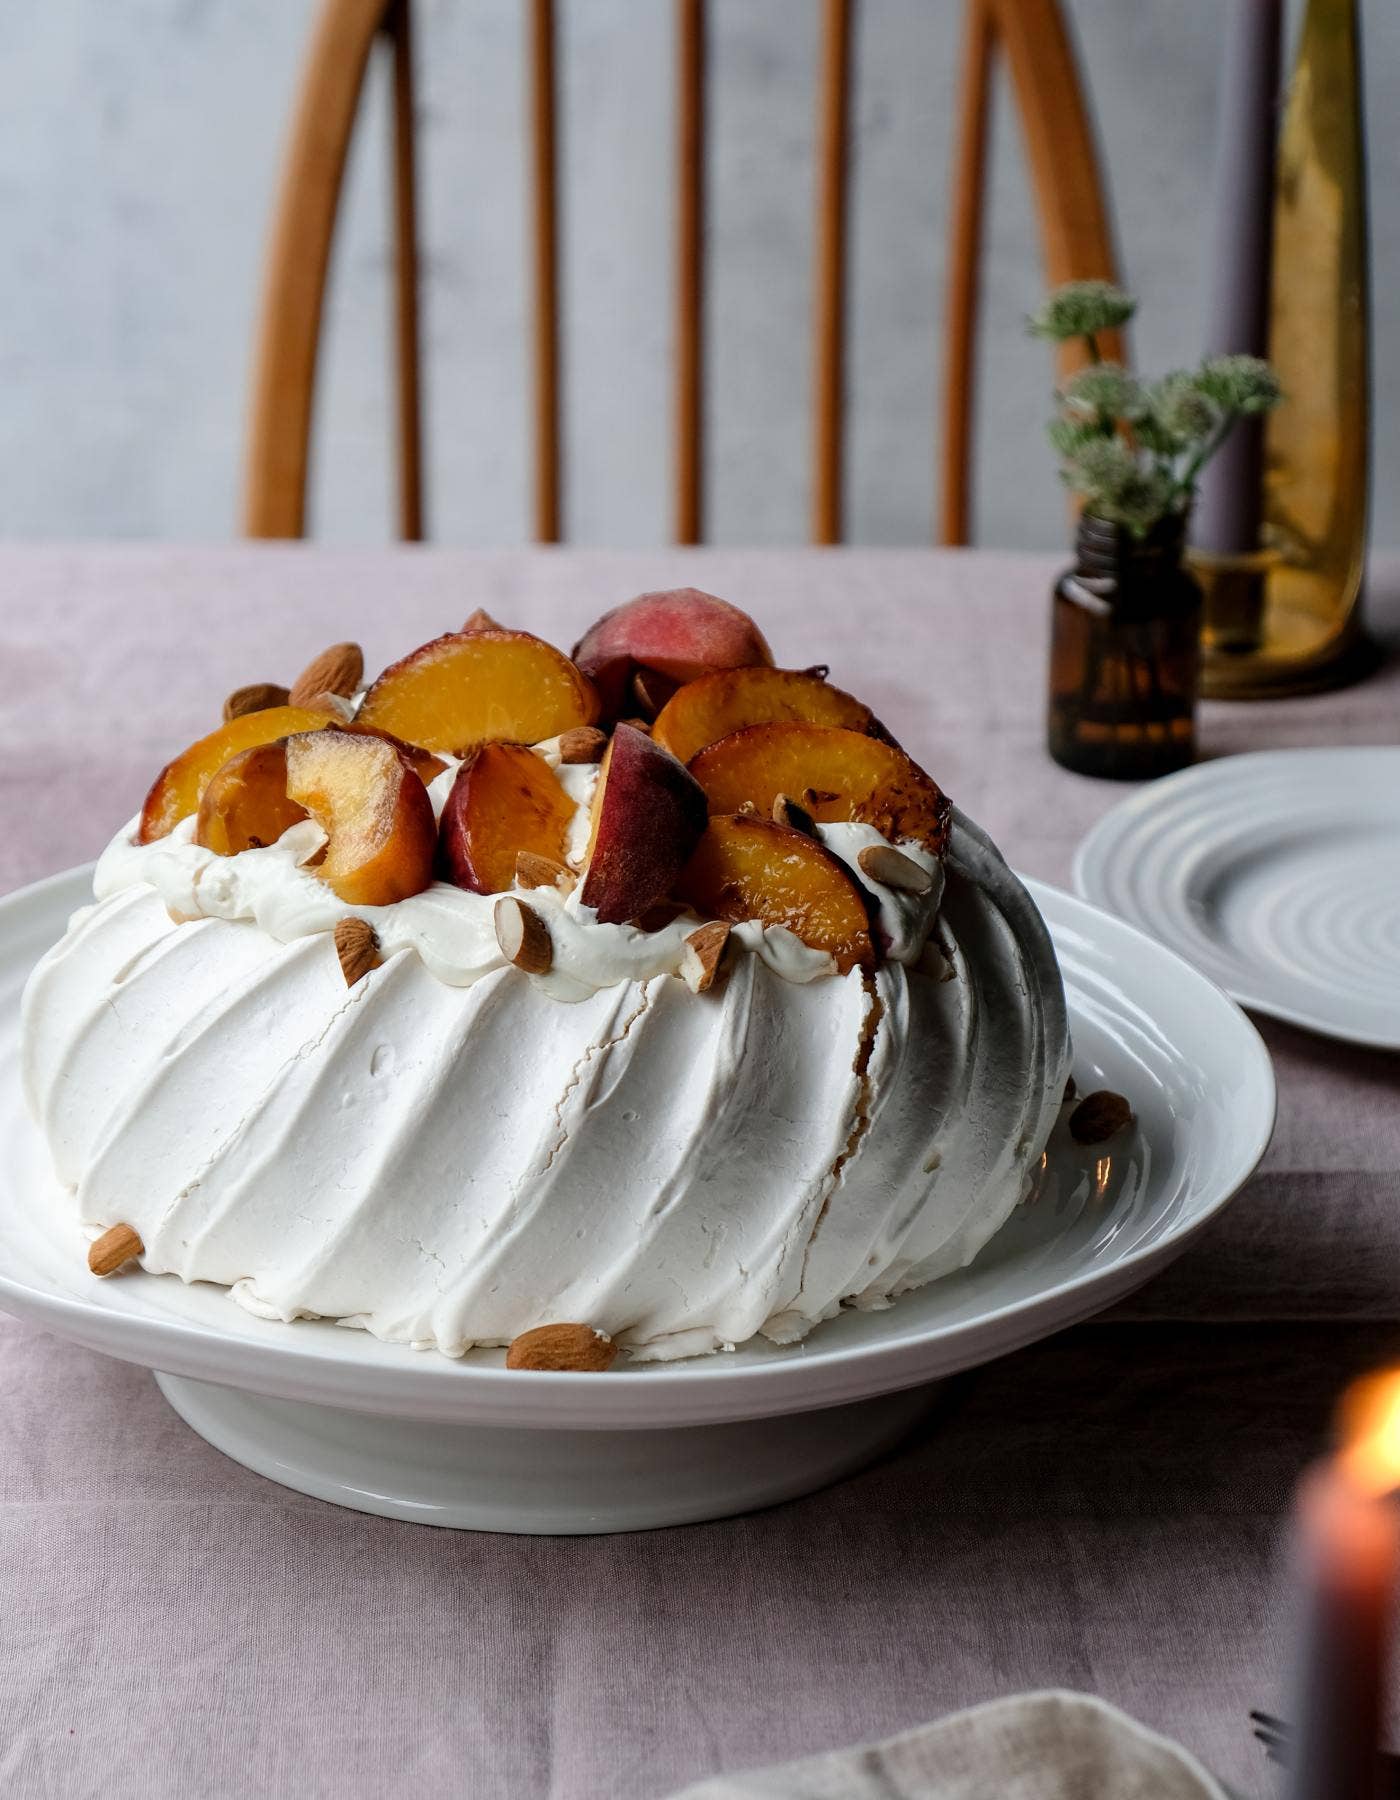
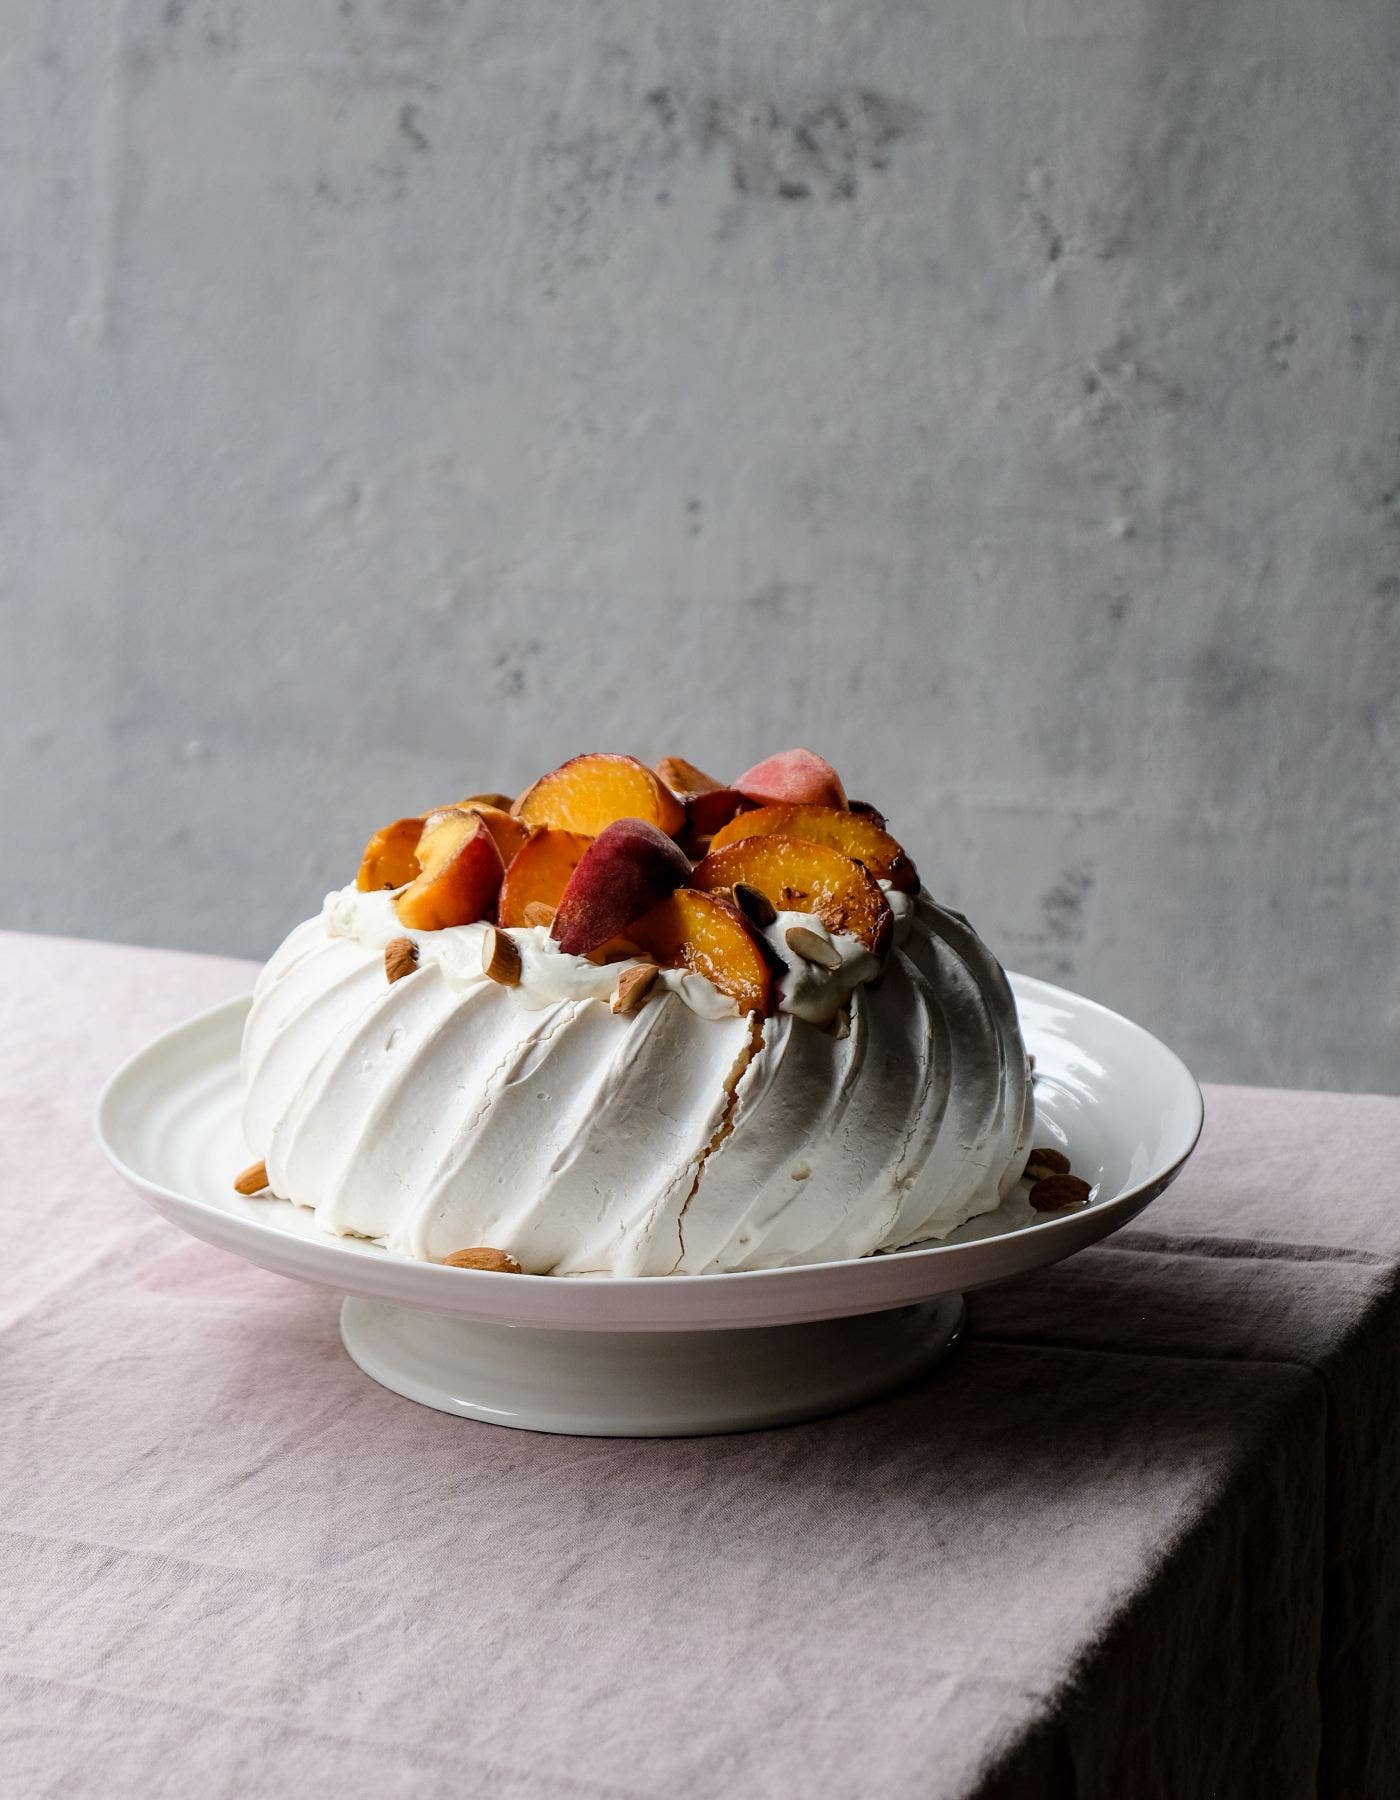
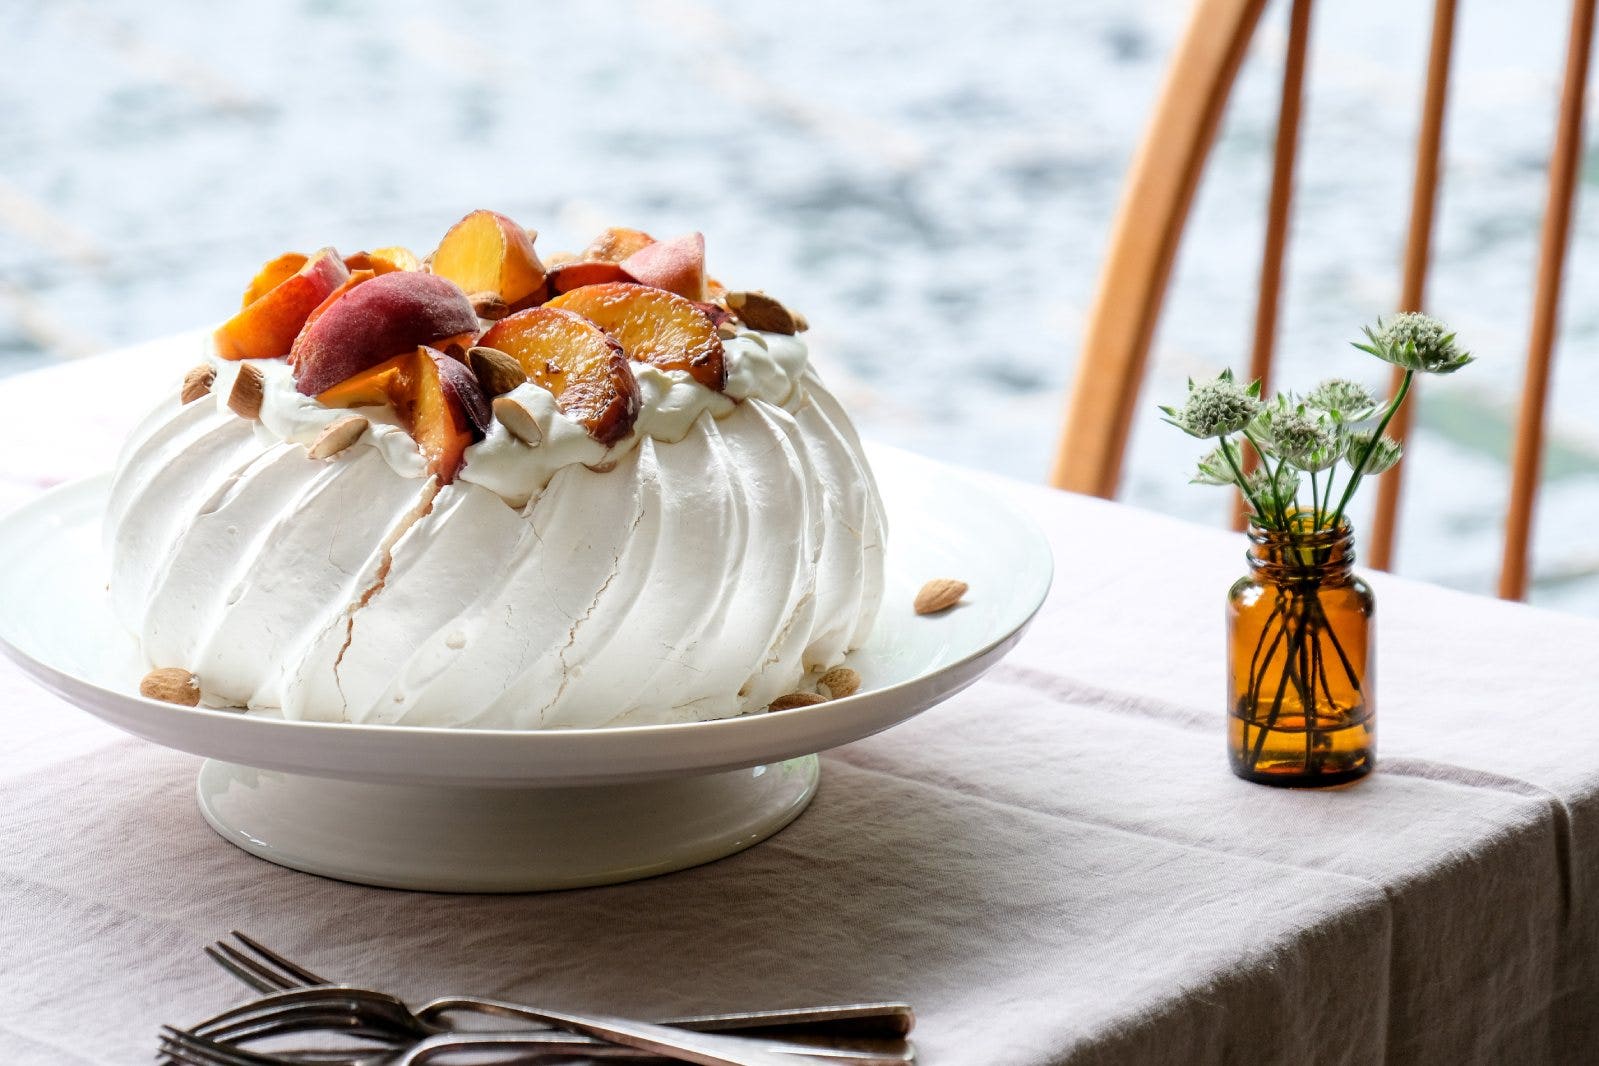
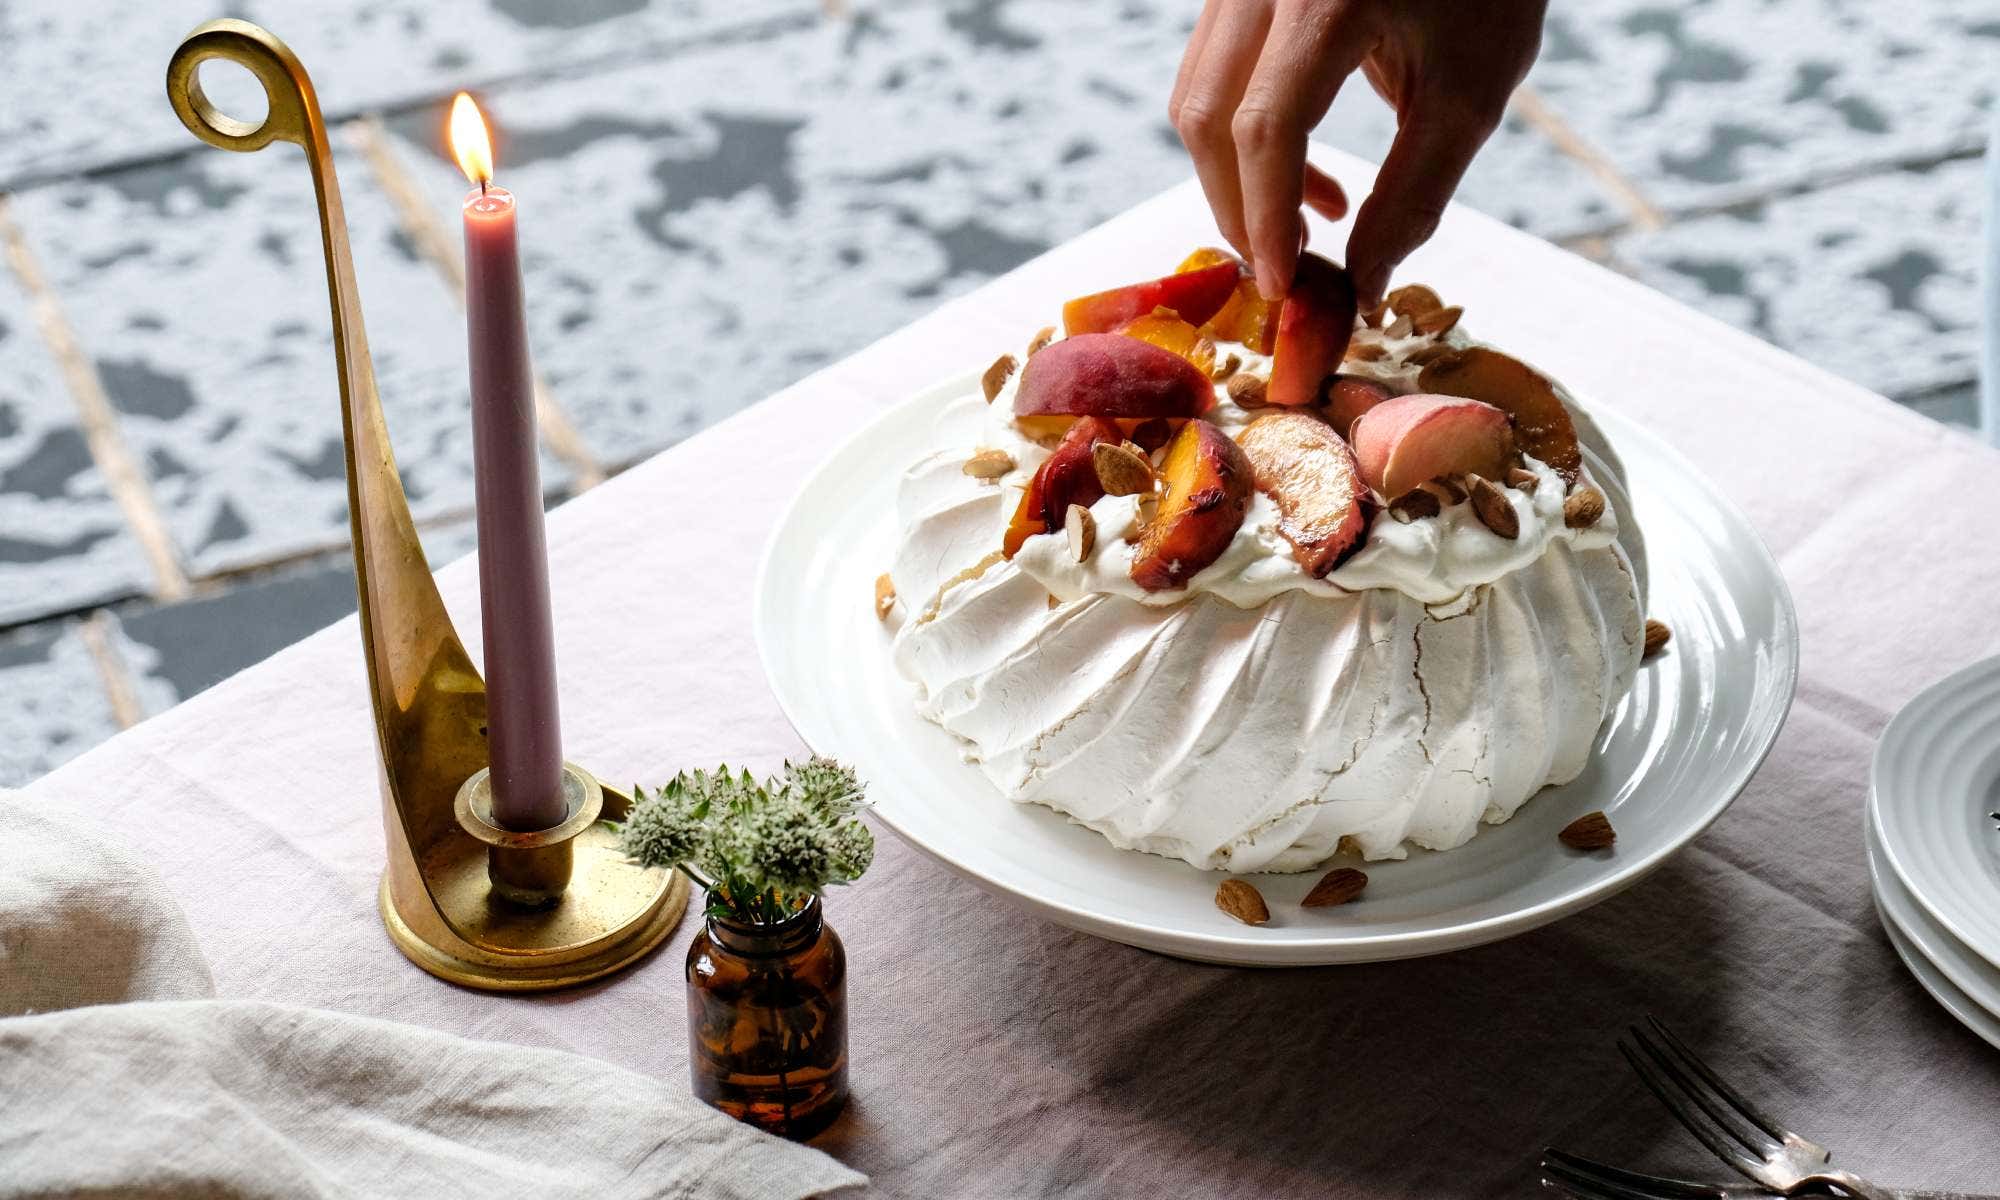
For a dinner party in the golden light of the evening summer sun, pavlova is an excellent choice for dessert. Not only are the ingredients fairly cheap, but also, it will be brought to the table to a few gasps and cheers – a snowy white Pavlova never fails to impress. This particular flavour combination is one of my favourites: the slight bitterness of charred peaches is a welcome addition to the sweet, crunchy meringue and tangy Greek yoghurt-cream mixture.
When it comes to meringue making, I know a few people are left trembling at just the thought, but really, they are so simple. Writing this recipe, I conducted an experiment over 2 days in which I made 7 pavlovas, some using cornflour and vinegar, some not. I found that the most stable and palatable pavlova was without any cornflour and vinegar, and so I believe that the best result comes from that two-ingredient classic: egg whites and sugar. I want to reassure you that, no matter what you may see on social media, pavlovas do crack. That’s one of life’s inalienable truths. And besides, if all you have to worry about today is a couple of cracks in your ‘pav’ then you’re doing well.
Charred Peach Pavlova Recipe
Serves 8
Ingredients
Meringue:
- 6 large egg whites
- 340g caster sugar (I like golden caster sugar)
Topping:
- 3 peaches/nectarines
- 75g almonds
- 400g double cream
- 200g full-fat Greek yoghurt (it must be thick-set)
- 1 tbsp orange blossom water (optional)
- A drizzle of runny honey
Method
Step 1: Preheat the oven to 180°C/160°C fan/gas mark 4. Draw a 20cm diameter circle onto a piece of baking paper with a pencil – I draw round a cake tin base. Put the baking paper, pencil-side-down, onto a baking sheet.
Step 2: Put the egg whites into a very clean mixing bowl – I use a KitchenAid fitted with whisk attachment, but you can use a mixing bowl and handheld electric mixer. Whisk the egg whites on full speed until fairly stiff peaks form. With the mixer still running on a slightly lower speed, add the sugar a tablespoon at a time or simply pour the sugar into the egg whites in a steady constant stream – it must be added gradually but not too slowly. Once all of the sugar has been added allow the meringue to mix on full speed for about 3 minutes – the meringue should be thick and glossy and should not feel granular when your rub a little bit between your finger and thumb. If it does have a graininess to it, continue whisking on high until smooth.
Step 3: Dollop the meringue onto the baking paper and use a small pallet knife or spoon to shape into whatever shape you like – I go for a tall dome which I then mark by dragging a palette knife up the sides to create ridges. Put the meringue into the oven and immediately reduce the heat to 120°C/100°C fan/gas mark ½. Bake for 2 hours, then turn off the oven and open the door slightly, leaving the meringue in there for at least another hour to cool.
Step 4: For the charred peaches, cut each peach in half and remove the stone. Cut each half into 4 fat slices. Heat a dry frying pan over a medium-high heat. Once the pan is hot, add the peach slices and fry on both sides just for a minute or two until slightly charred – they may stick a little, but that’s to be expected. Remove from the pan and place onto a chopping board or plate to cool. Wipe the pan out and return to a high heat then add the almonds. Toast the almonds, shaking the pan every 30 seconds or so, until the almonds take on just a touch of colour and smell wonderfully nutty. Remove the almonds from the pan.
Step 5: In a mixing bowl, whisk the cream until it only just holds its shape, albeit floppy and reluctant. Fold in the yoghurt and orange blossom water, if using. Top the cooled meringue with the cream mixture, then top that with the charred peach slices and the toasted almonds. Add a generous drizzle of honey, if desired. Serve immediately. If making ahead of time, make sure you add the cream and other toppings just before serving. The meringue, without the cream, can be frozen in an airtight container for up to 6 months.
5 Tips for Perfect Pavlova
1. A clean bowl
If your bowl has any greasy residue it will bind to the protein of the egg white and prevent a decent rise. Make sure your bowl is extra clean and bone-dry. If you want to be certain, a little shot of vodka, vinegar or lemon juice splashed into the bowl and wiped with a clean, dry cloth will cut through any leftover grease.
2. Stiff-peaked egg whites
One of the biggest mistakes I see people making is not whipping their egg whites enough before adding the sugar. The whites must hold a medium-stiff peak before you even think about adding the sugar.
3. Mix the meringue after adding the sugar
Once the sugar has been added gradually, the meringue should be whisked on a high speed for a good 2 or 3 minutes. This will help to ensure the sugar is dissolved and evenly distributed, and that the air bubbles are all regular in size.
4. Allow the meringue to cool in the oven with the door ajar
Once the meringue has baked, it must be brought back down to room temperature gradually, or it will severely crack from thermoshock. Leave the meringue in the turned-off oven with the door ajar and allow it to cool for at least an hour (though even longer – up to overnight – is best).
5. Don’t over whip the cream
I see it time and time again: people whip their cream until it turns yellow and grainy. Cream cannot be whipped to a ‘stiff peak’. It should be whipped until it only just holds its shape, and even then, it will be reluctant.
Enjoyed this recipe? Try John’s BBQ Side Dish Recipes for your next outdoor get-together.